 Tweet
Tweet
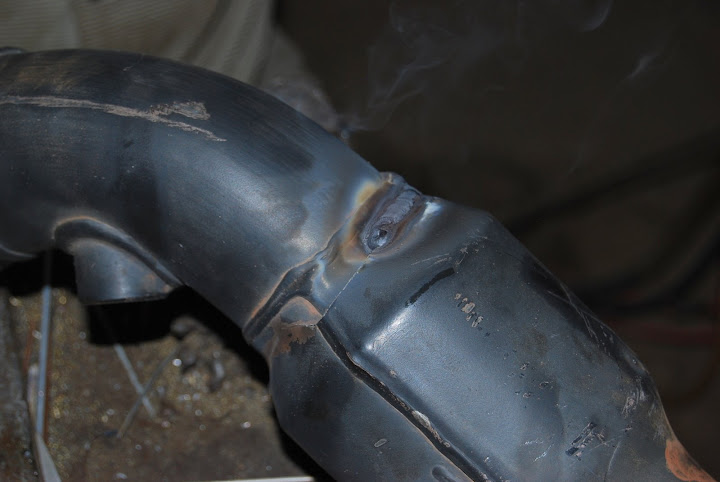
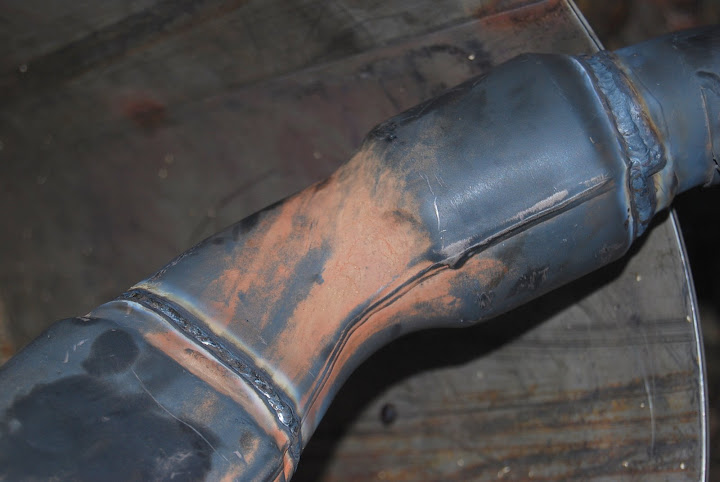
Bringing back the old thread.. I think Ken has a lot of stuff saved over and I'll also put together some of the stuff I managed to save from this thread.
Take it away Ken!
Take it away Ken!
Since '02 xBhp is different things to different people. From a close knit national community of bikers to India's only motorcycling lifestyle magazine and a place to make like-minded biker friends. Join us


Look further to stay alive.
Our Partner


 Somewhere, it is written "Sunny Sports" & other place "Sunny Spots" ... Is this "Puig" company a chinese company? Lol just joking ...


Comment